
Braking system on Lucien Laboiserie’s Ferrari 612: reconditioned 4-piston Brembo calipers and bled brake system
Once the V12 had been fully assembled and started up for the first time, we turned our attention to the braking system on Lucien Laboisserie’s Ferrari 612 Scaglietti. The braking system had been completely dismantled: we reassembled the four Brembo 4-piston calipers with new square seals and dust covers, refitted them to the car, then bled the system using a pressure machine set to 1.4 bar. In this article: the difference between a single-piston and a 4-piston caliper, the correct order for fitting the seals, the pitfalls encountered on this car (paint in the bores, forgotten pad guides, a ‘missing’ seal left inside the caliper) and the bleeding method. This is the next instalment in our series on the restoration of the 612.
To read the previous instalment: Ferrari 612 Scaglietti: complete timing system overhaul and first start-up of the V12.
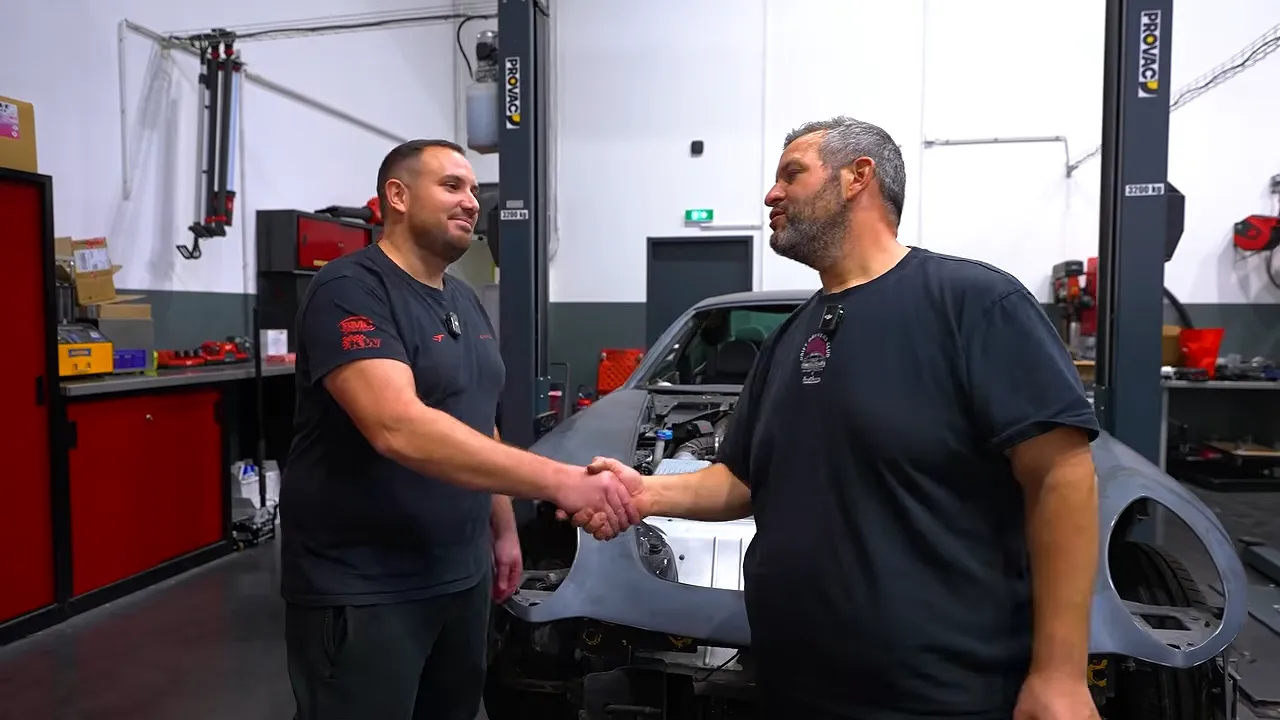
A Ferrari 612 with its brakes completely dismantled
On Lucien Laboisserie’s 612, the braking system had been dismantled for some time. All that remained was to rebuild the four calipers, refit them and fill a completely empty system. The Brembo kit arrived complete with seals, genuine Brembo dust covers, new bleed screws, anti-squeal grease and genuine Ferrari rear brake pads. The seals and dust covers were sourced from Askaparts, a braking specialist.
Before assembling anything, we check that everything is present: brake pads, pad holders, seals, dust covers and fasteners. On a car that we’re taking on partway through the project, this check prevents us from discovering a missing part once the caliper has already been fitted.
Single-piston caliper or 4-piston caliper: what really makes the difference
A conventional car brake caliper is single-piston: there is a single piston on the inside of the disc, and the caliper slides along its struts to clamp the brake pad. A 4-piston caliper is fixed: the pistons, positioned on either side of the disc, push against the brake pads. The pressure is distributed more evenly across the brake pad surface, increasing braking power. Calipers are available with 1, 2, 4, 6 pistons and up to 10 on certain very powerful models.
Those on the 612 have two piston diameters per caliper: one large and one small. This detail is important during reassembly, as each piston is fitted with the seal that corresponds to its diameter.
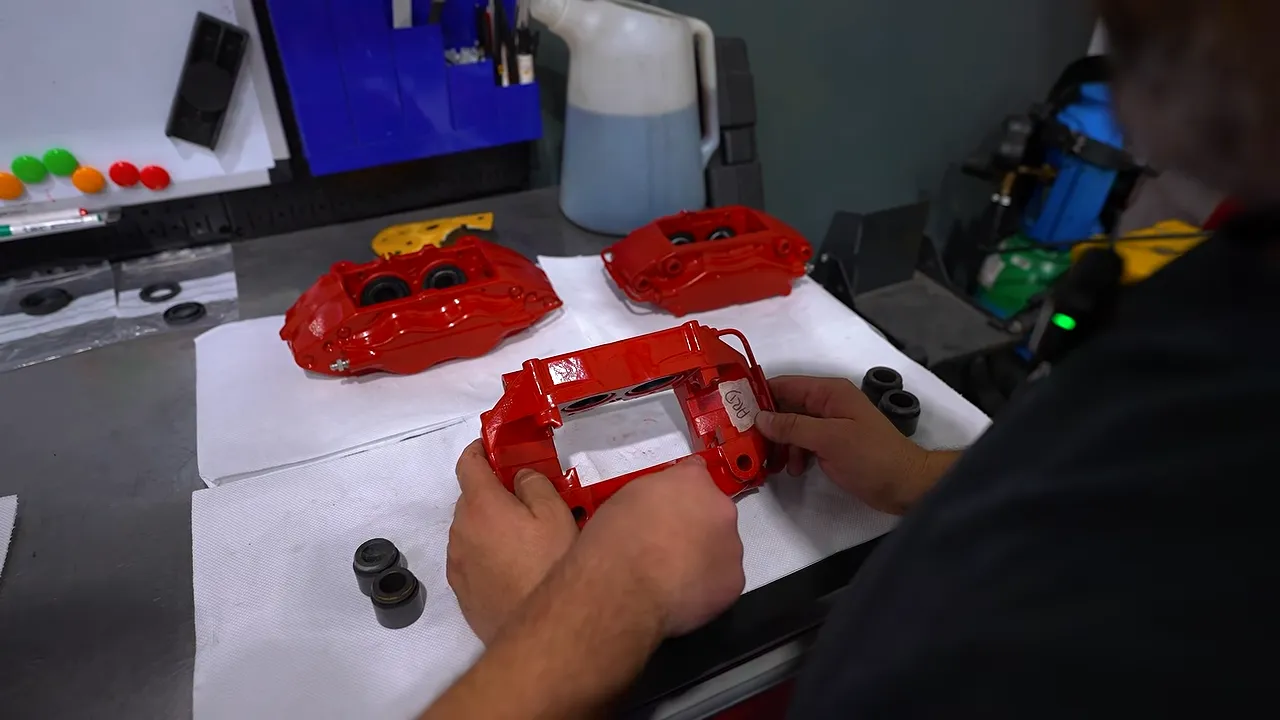
Prepare the brackets before fitting
The brake calipers on the 612 had been repainted. During the painting process, a small amount of paint had got into some of the piston bores. This is cleaned out with acetone before fitting the new seals, to ensure the piston slides freely. Without this cleaning, assembly becomes a laborious task.
The square seals and dust covers were also soaked in an assembly fluid, which is less aggressive than brake fluid. This softens them to make fitting easier and impregnates them with fluid, which is better for ensuring a tight seal.
Square gaskets and dust covers: the assembly sequence
Each bore takes two parts. The square seal fits into the groove at the bottom of the bore: it is round, but has a square cross-section, hence its name. The dust cover fits into the outer groove and clips onto the piston ring. It protects the piston from contamination. In track use, this is the part that suffers the most: it burns, even with good cooling.
The assembly sequence we followed:
- Remove the old seals without marking the piston ring.
- Fit the square seal corresponding to the piston’s diameter into each groove. There is no specific direction for fitting.
- Insert the piston halfway, until it just touches the square seal.
- Fit the dust cover onto the piston and check that it sits correctly in its groove.
- Push the assembly fully into place. Do not push the piston in too far before fitting the dust cover, otherwise it will no longer fit.
On the 612, one detail held up the work: we thought a seal was missing, when in fact it had remained in the caliper since the previous dismantling. Hence the importance of checking the inside of each bore before concluding that a part is missing.
To push a piston out, use compressed air with a wedge to limit its travel. The same principle applies when changing pads on a multi-piston caliper: when you push one piston back, another springs out. You must therefore secure them in place, or use a piston pusher suitable for the caliper.
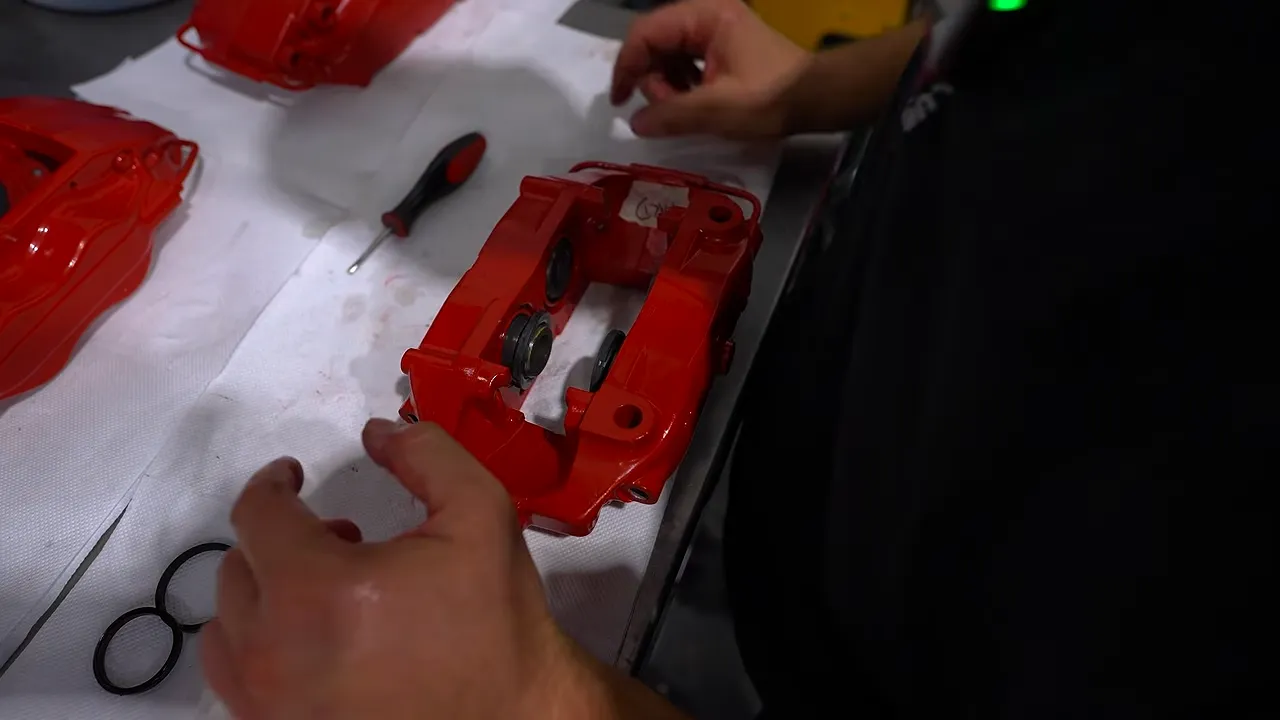
Refitting the brake callipers to the car
The hose on the 612 is screwed directly into the caliper, without a banjo bolt. So you screw the caliper onto the hose, secure the whole assembly, then mount the caliper onto the car. The brake pads are then fitted with their shims, the pin, grease and the anti-vibration components from the Brembo kit.
There were two unexpected issues to note. The brake pad guides, which have a distinctive shape on these Brembo calipers, were in a separate bag and had been overlooked: we had to remove one front and one rear caliper again. And there is no brake pad wear sensor at the rear: it was neither supplied nor fitted to the car.
The new bleed screws are fitted with the calipers. These screws often seize up: replacing them prevents the need to use excessive force later on. They should be tightened to the manufacturer’s specified torque, without over-tightening.
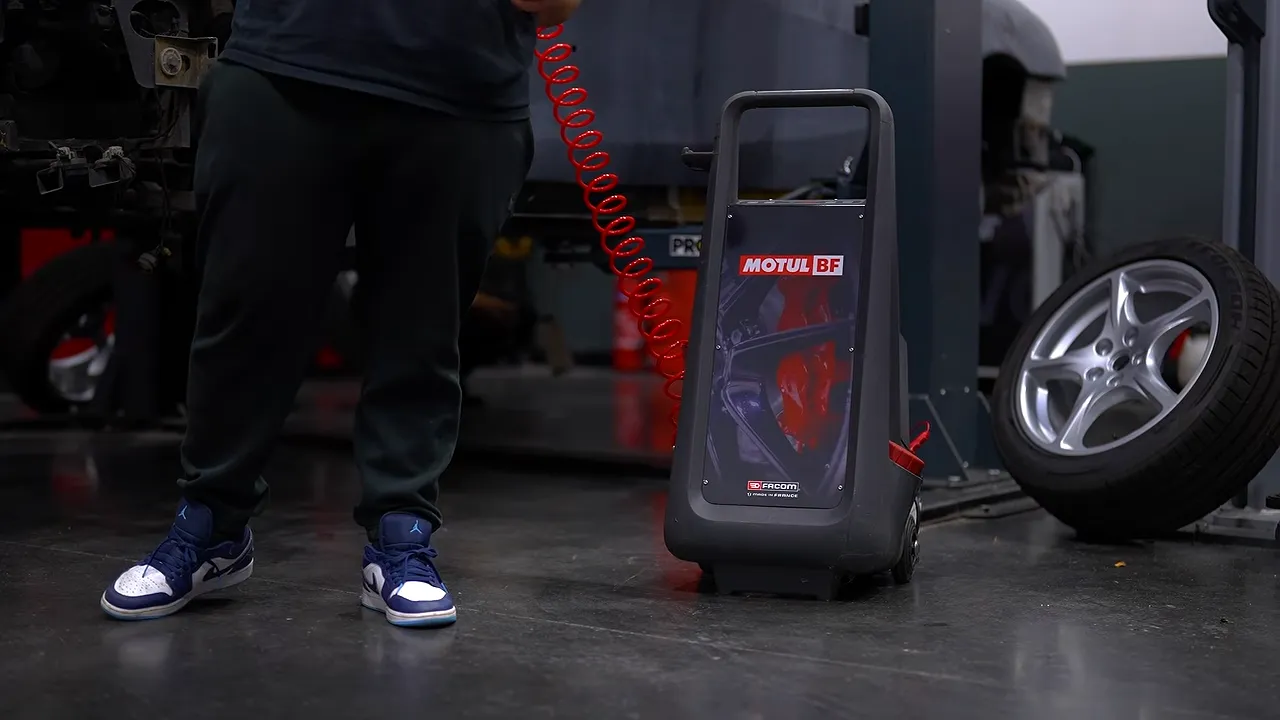
Flush the system using a high-pressure machine
When bleeding the system, all the fluid is replaced: the reservoir and hoses are emptied rather than simply topping up the fluid. In this case, as the circuit is completely empty, the machine first fills the reservoir, then the entire circuit.
The machine is connected to the master cylinder reservoir. Its 5-liter tank is filled with the fluid recommended by Ferrari. The pressure is adjusted on the machine. We worked at 1.4 bar, which is sufficient to force the fluid through the entire circuit.
The method:
- Open the bleed screws starting from the point furthest from the master cylinder: rear right, rear left, front right, then front left.
- On a caliper with two bleed screws, open the outer screw first, then the inner one.
- Watch the fluid in the hose to spot any air bubbles. Purposely bleed out a large volume to remove any water and impurities that have built up whilst the system was left open for a long period.
- Run the system through twice to ensure that all the fluid has been replaced and all the air has been purged.
- Then test the pedal: it must feel firm and hold pressure, without being spongy.
- Lower the car, refit the wheels, tighten them to the correct torque and check for leaks.
A single operator can carry out a proper bleed using a machine, provided the correct sequence is followed. Some vehicles require two people, depending on the manufacturer’s procedure: opening the ABS module, or Toyota hybrid models which have an additional actuator.
There are two precautions to bear in mind before pressurizing a circuit. On some vehicles (a Golf 3 or Golf 4, for example), the reservoir is not locked to the master cylinder: under pressure, it may come loose and fly off, hence the use of retaining clamps. And on some cars, the hydraulic clutch release bearing shares the same circuit: you should therefore avoid applying too much pressure.
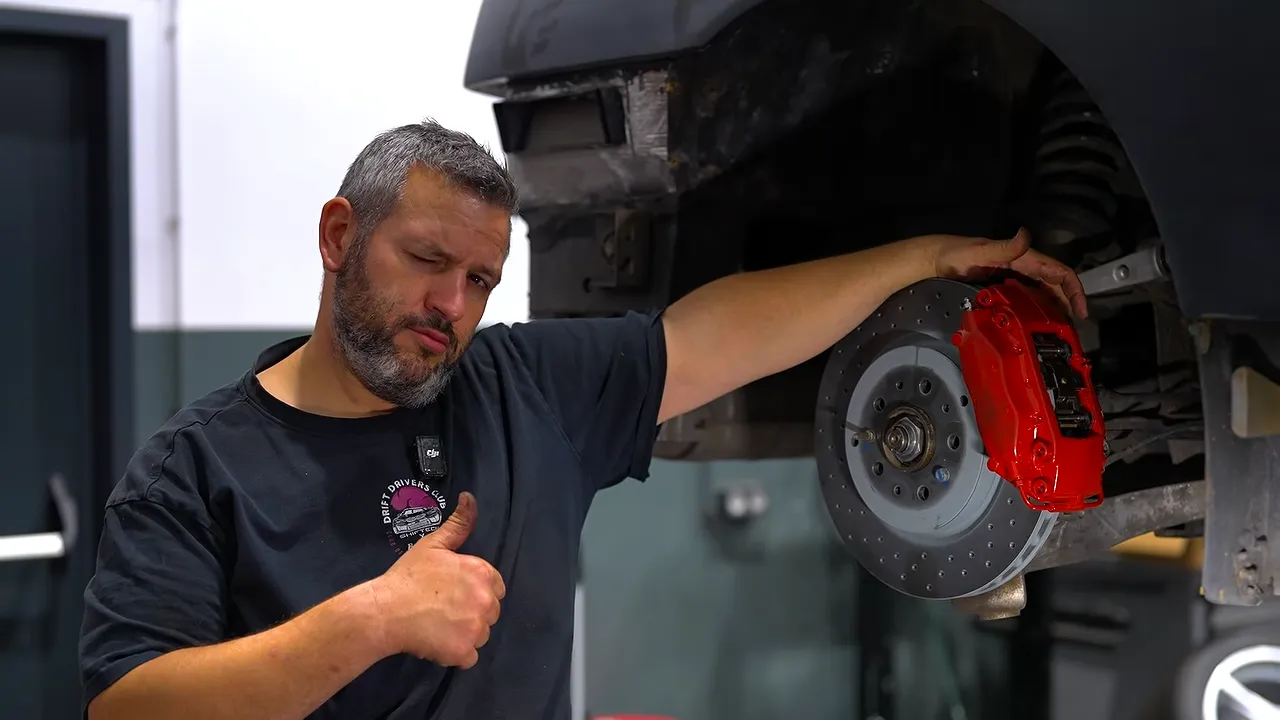
At the first test drive, the gearbox refuses to change gear
Once the bleeding was complete, the 612 would no longer change gear. It wasn’t a gearbox fault: on this Ferrari, the bonnet sensor prevents the gears from engaging when the bonnet is open. Once the bonnet is locked in place, the gears engage. Before looking for a more complex fault, you should therefore check the sensors and safety mechanisms.
The next instalment in the series: bodywork, then the dynamometer
The brakes have been overhauled and the system bled. After being off the road for so long, we’ll run the engine in and check all the fluid levels. It will then go to the body shop, and once it’s back, we’ll put it on the dynamometer to see how the V12 performs after all this work.
To read the previous articles in the series: V12 restoration, then spark plugs, ignition coils and oil change, then timing and first start-up.
YouTube video
4-PISTON BRAKES FOR LUCIEN BOISERIE’S FERRARI!!
Learn more
View articles
Similar


